Industrial Display Black Screen: 7 Causes, Fast Fix & How to Solve It Without Replacement
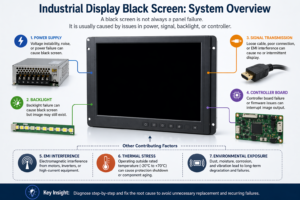
Quick Answer An industrial display black screen is typically caused by: Power supply instability LED backlight …
Encountering a black screen or no image on your monitor can be a frustrating experience, particularly when seamless operations are crucial.
Whether you’re an IT professional with technical expertise or a procurement officer responsible for sourcing reliable display solutions, knowing how to effectively troubleshoot these issues is essential.
In this troubleshooting guide, we will provide you with a set of invaluable tips and strategies to systematically diagnose the underlying causes of monitor black screen and no image problems. By following these guidelines, you can swiftly identify and address issues, ensuring uninterrupted productivity and optimal performance.
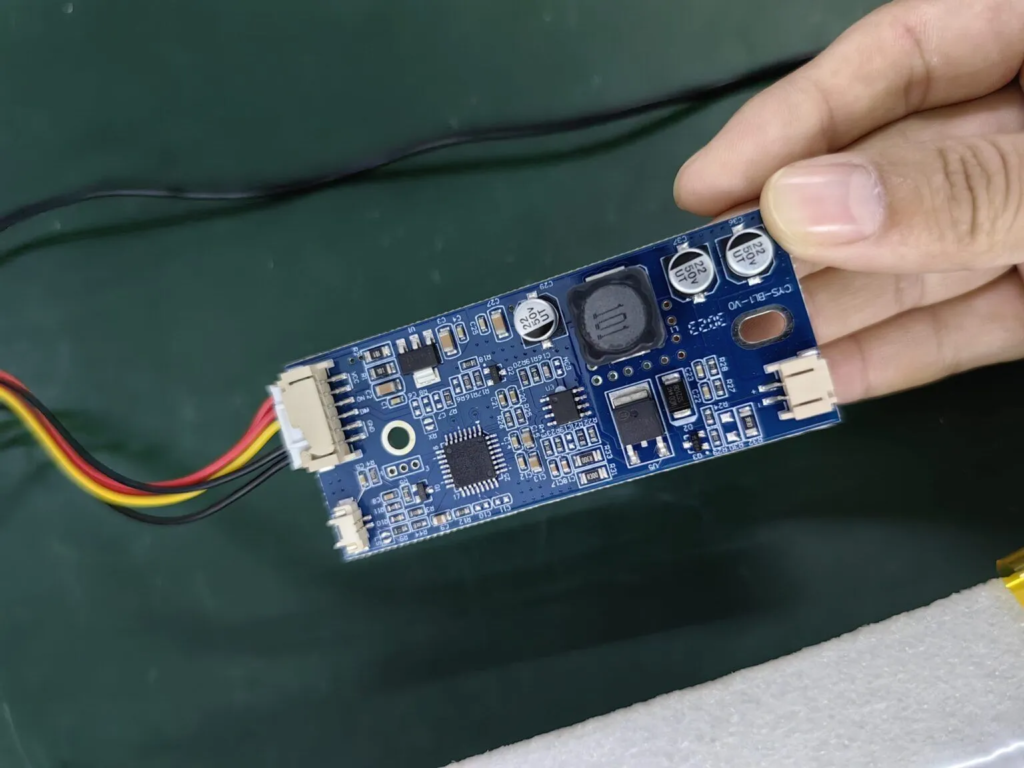
Is the backlight illuminated? If yes, the constant current board is likely functioning correctly.
When troubleshooting a black screen or no image on your monitor, the first step is to examine the backlight illumination. If the backlight is bright and functioning as expected, it indicates that the constant current board, responsible for regulating the backlight, is likely in good working order. However, if the backlight is not lit, proceed to the next steps to pinpoint and resolve the issue.
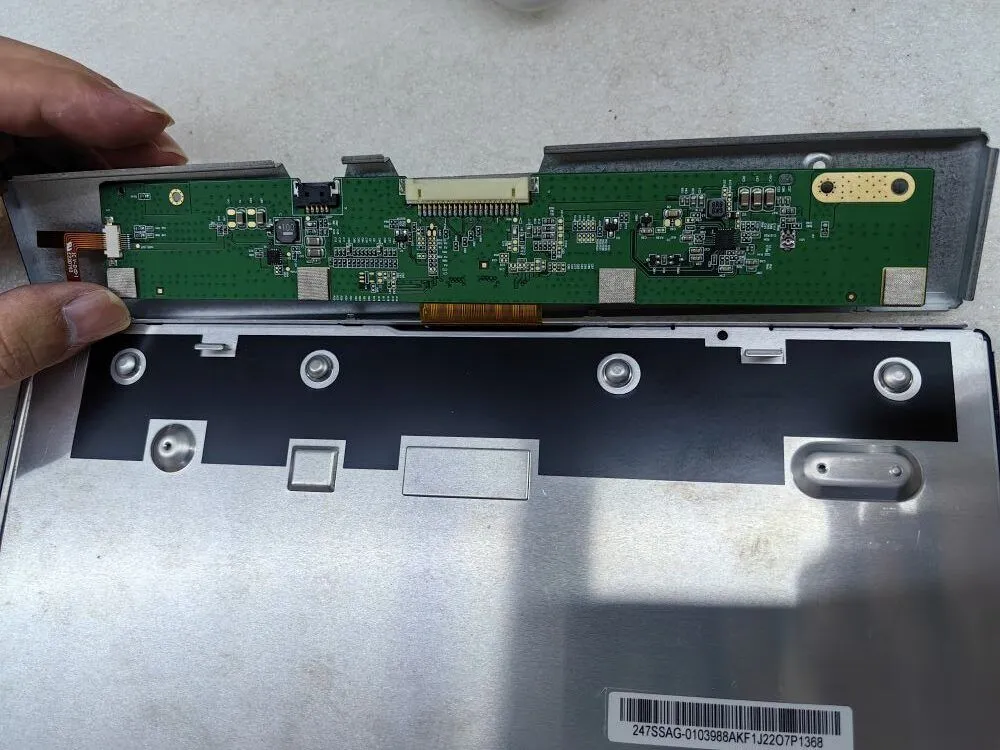
Are there any signs of burnt or damaged LCD components?
In the quest to resolve a black screen or no image on your monitor, the second crucial step involves a thorough examination of the LCD components. Look closely for any visual indications of burnt or damaged elements. These may include charred areas, discolored components, or visible signs of overheating.
Identifying such damage can provide key insights into the root cause of the issue. If you observe any damaged LCD components, it is advisable to replace them promptly. However, if the LCD components appear intact, proceed to the subsequent steps for further troubleshooting.

The image below shows the appearance of components burned due to low supply voltage
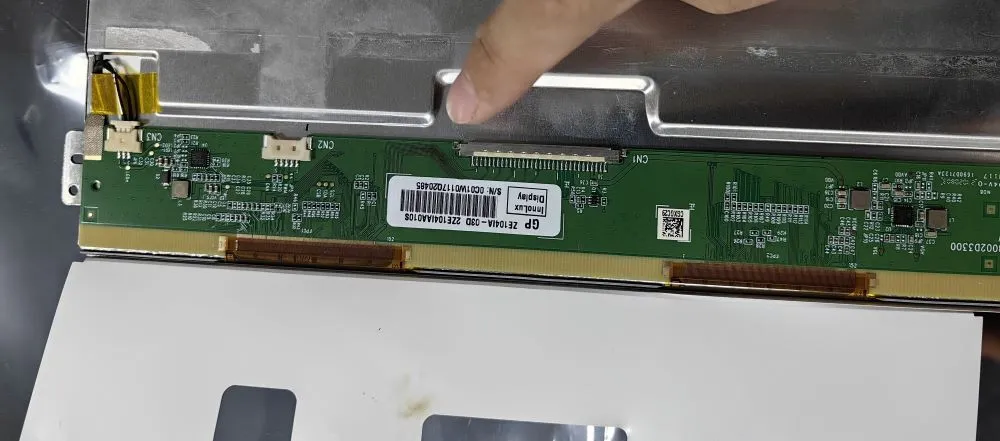
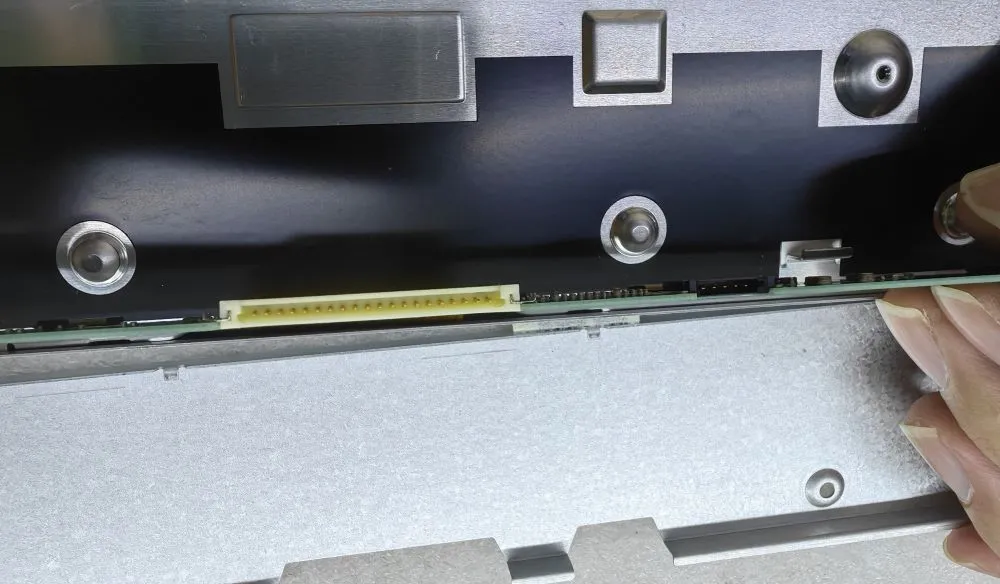
Take a moment to inspect the connector pins for any signs of misalignment. Misaligned pins can potentially lead to issues like a white screen or distorted display.
While addressing the troubleshooting of a black screen or no image on your monitor, it’s essential to consider the condition of the connector pins. Examine them carefully to ensure they are properly aligned. Misaligned pins can result in poor connections, leading to problems such as a white screen or screen distortion.
If you detect any misaligned pins, gently realign them to restore a secure and accurate connection. This attention to detail can often resolve display issues effectively. However, if the pins appear correctly aligned, proceed to the subsequent steps for further diagnosis and resolution.
Above are the main 3 Steps to check the black screen or no display issues.
Quick Answer An industrial display black screen is typically caused by: Power supply instability LED backlight …
Introduction Industrial display flickering often appears unexpectedly in real deployments such as EV charging stations, factory …

Introduction Outdoor displays are designed for harsh environments, but outdoor industrial display overheating remains one of …

Introduction In OEM system design, touchscreen integration failures are often caused by incorrect assumptions about iOS …
Send your application details. We respond with configuration direction and next steps.